
Yes — a butcher shop QR code menu with daily cuts and prices can show what’s available today when you build it on QRDrobe’s Restaurant/Cafe Menu card. The card is a dynamic mobile landing page behind a printed QR code, not a static PDF. You edit fields like Name [text], Cover [coverImage], and Menu Sections [menuSections] with individual items, descriptions, and prices. Because the QR code points to the editable card, you can change the cuts, prices, and specials throughout the day without reprinting the code.
Set up Menu Sections to match how customers think about your case: Beef, Pork, Poultry, Lamb, Specialty Cuts, Prepared Meals, and Weekly Specials. In each section, add an item for the cut, a price, and a description. For example, under Beef you might list Prime ribeye, $18.99/lb, with 1.25–1.5 inch thick, dry-aged 28 days in the description. Under Weekly Specials, add Saturday grill pack with a short description of the included cuts. Keep the Name field to your shop name, like Fennel & Fat Butcher, so the card feels like your counter menu instead of a generic template.
Use the Menu Sections update workflow as your morning and afternoon routine. When the case opens, add or adjust the cuts you want visible; when something sells through, remove it from the section or change the description to sold out for today, back tomorrow. Price changes are just as simple: update the price field inside the item and the live card changes immediately. You don’t touch the printed QR code, and you don’t need customers to scan a new one. That’s the main difference from a static printed cut sheet, which is out of date the moment a price changes or a cut runs out.
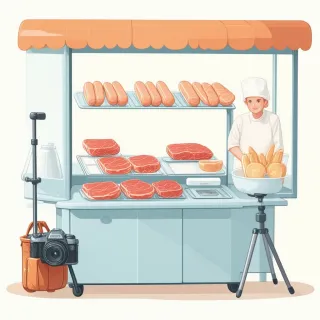
One common mistake is hiding current prices in the Cover [coverImage]. The cover is great for a photo of your case, your storefront, or a chalkboard-style brand image, but if you put daily prices into the cover image, staff have to recreate and re-upload that image every time something changes. Keep the live details in Menu Sections, where they are meant to be edited, and leave Cover as a visual anchor. Another mistake is vague section labels or generic item names. Beef is clearer for a customer than Counter 1, and Ribeye, $18.99/lb is more useful than Ribeye with no price or description.
Fill the supporting fields so the card can answer follow-up questions without a phone call. Add your Phone [text], Email [email], Address [text], and Website [url] exactly as customers should use them. If you post daily case photos to Instagram or Facebook, add those Social Media Links [dynamicLinks]; people can tap through after checking the menu. The card remains useful even when someone opens it directly in the shop, because it can show the same current sections as the printed QR code without making them search your social feed.
For weekly specials, create a dedicated Menu Section and treat it as a short, changeable list. Put one-off cuts, bundles, or prepared meals there, and remove them when the week ends or the product sells out. If a prepared meal sells out by 2 p.m., delete or edit that item instead of leaving it visible; an accurate list makes customers more willing to visit, while a stale list trains them to ignore the menu. Also keep price formatting consistent within each section — for example, use $8.99/lb for per-pound cuts and $14 each for packs or prepared meals — so the card is easy to scan on a phone.
Before you print or share the QR code, open the card as a customer would. Scan the code, check that the Name reads like your shop, the Cover looks right, every Menu Section contains only cuts you can sell right now, and the phone, email, address, and website fields are correct. After you’ve printed the QR code on a counter sign, window decal, or future flyer, you can keep editing the card; QRDrobe tracks scan activity, and the same dynamic code keeps working because the code points to the card, not to a frozen version of today’s list.